How to create groups
Once you've created your group meeting, you need to split your participants into groups. In this article you can read how to do so. For instructions on how to create a group meeting, we recommend you to read How to create group meetings
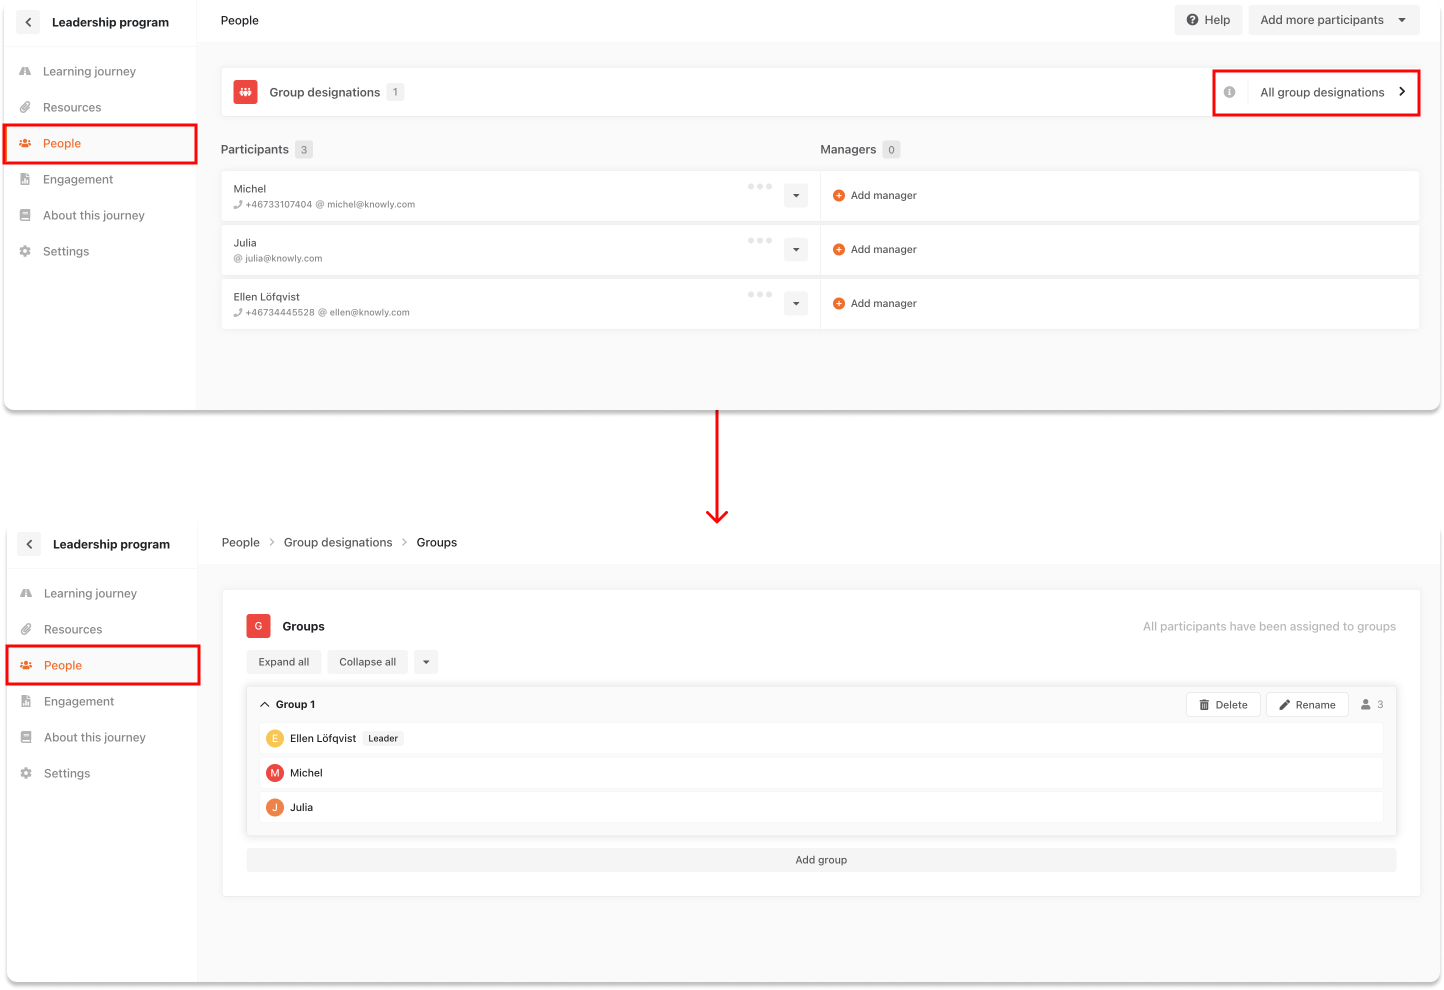
1. Start in the overview of your learning journey. Go to the tab People in the left menu.

2. First, add your full participant list. Once you have participants added to your learning journey, you will see the button New group designation. Press here to create your groups. From here, it's time to choose your group settings.
Since you can have multiple group constellations during a learning journey, you need to choose a name for each group setting to separate them. Then select the number of groups you would like along with the base name for each group. For example: if you select three groups and choose the name Team, Knowly will create three groups called Team 1, Team 2, and Team 3. Then you can choose whether Knowly should randomize the participants' groups or whether you, as an administrator, manually divide participants into groups. Knowly calculates the number of people per group based on the number of people in the learning journey and the number of groups you have chosen above.

4. Now it's time to add your group to a group meeting! To do so, enter the activity group meeting in your learning journey. In the menu on the left, you can, via Group designation, select the group division that will apply to this specific group meeting.

Note that you can have several different group divisions during a learning journey to enable different group constellations in additional group meetings